This document describes how to use HDRP Volume Post-Process Pack (hereafter "This package").
- Demo Scenes
- About Volume Post-Process framework
- Setup
- Effects
- Using in Timeline
- Trouble Shooting
Demo Scenes
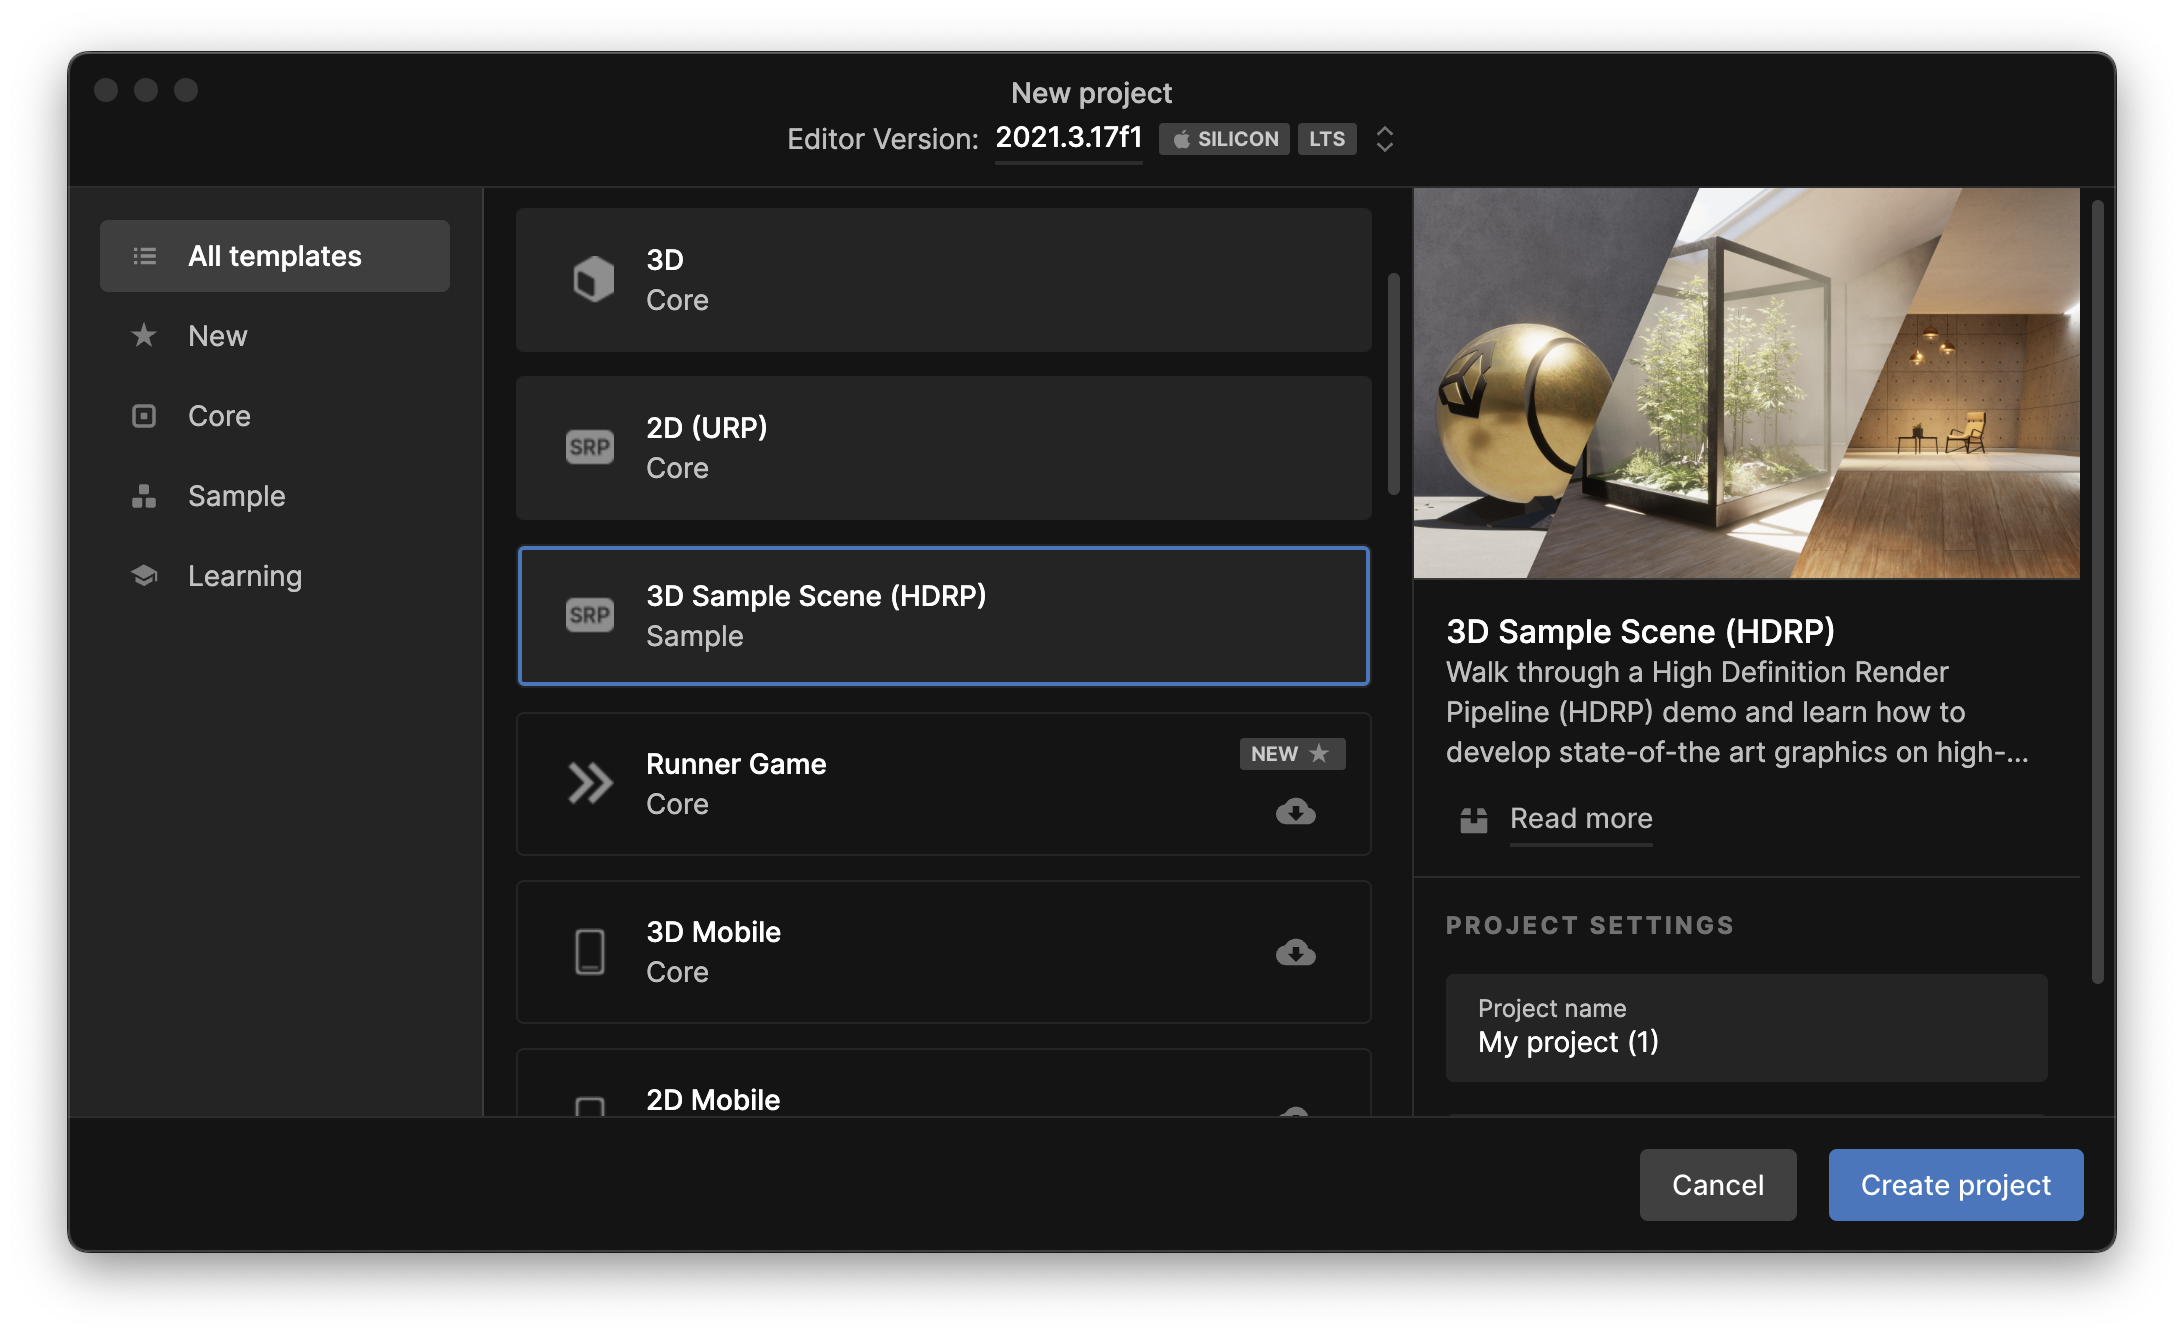
Demo scenes in this package require the project derived from 3D Sample Scene (HDRP) .
About Volume Post-Process framework
This package is based on Volume framework.
Please refer to the following link.
https://docs.unity3d.com/Packages/com.unity.render-pipelines.high-definition@12.1/manual/Volumes.html
Setup
1. Create Volume GameObject in your scene
Click the "+" button of the left top of a hierarchy view, and select
Volume > Global Volume
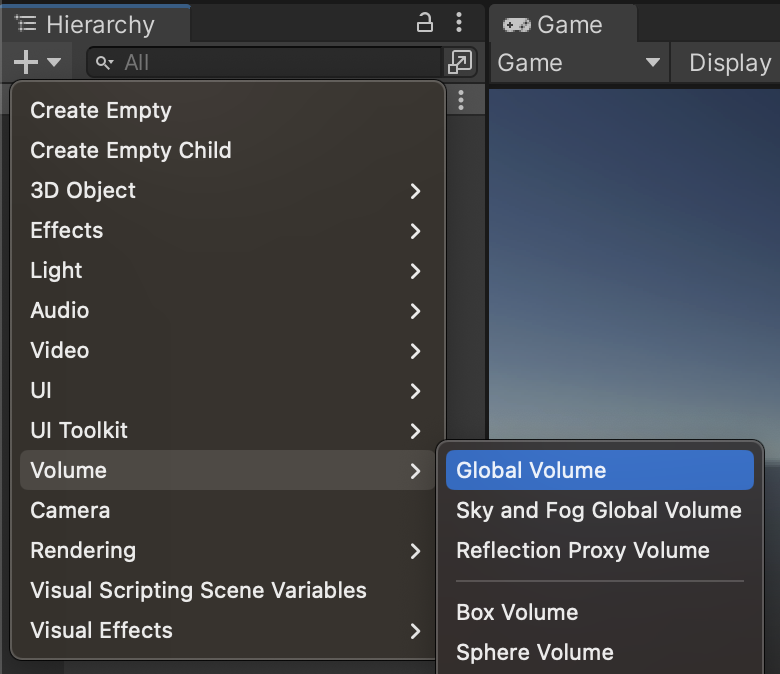
A GameObject will be created and that has a Volume component.
View that in a Inspector view.
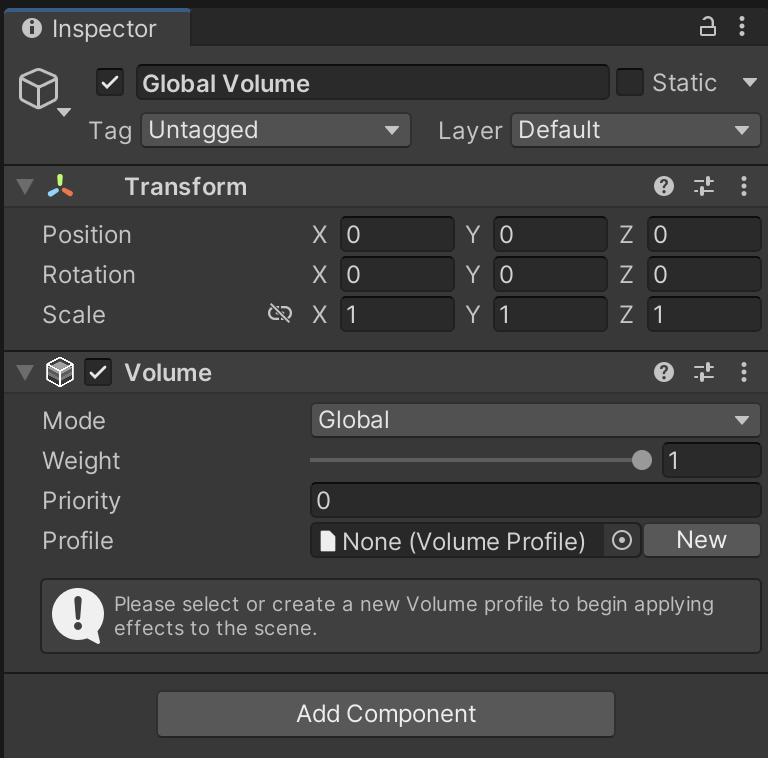
The Mode property defines the range of influence of the effect.
When Global, it renders effects anywhere.
When Local, it renders effects if a main camera is inside the collider of the volume GameObject.
2. Set a preset "Profile" or Create a new one
Volume component needs one Profile that define how to render the scene.
This package contains various preset profiles so you can use these immediately to add a single Post Process.
Click Profile field and select a profile from the list.
3. Edit Effect ordering
Open project setting window from Unity menu
Edit > Project settings…
The setting window will open, so select the HDRP Global Settings section in left side.
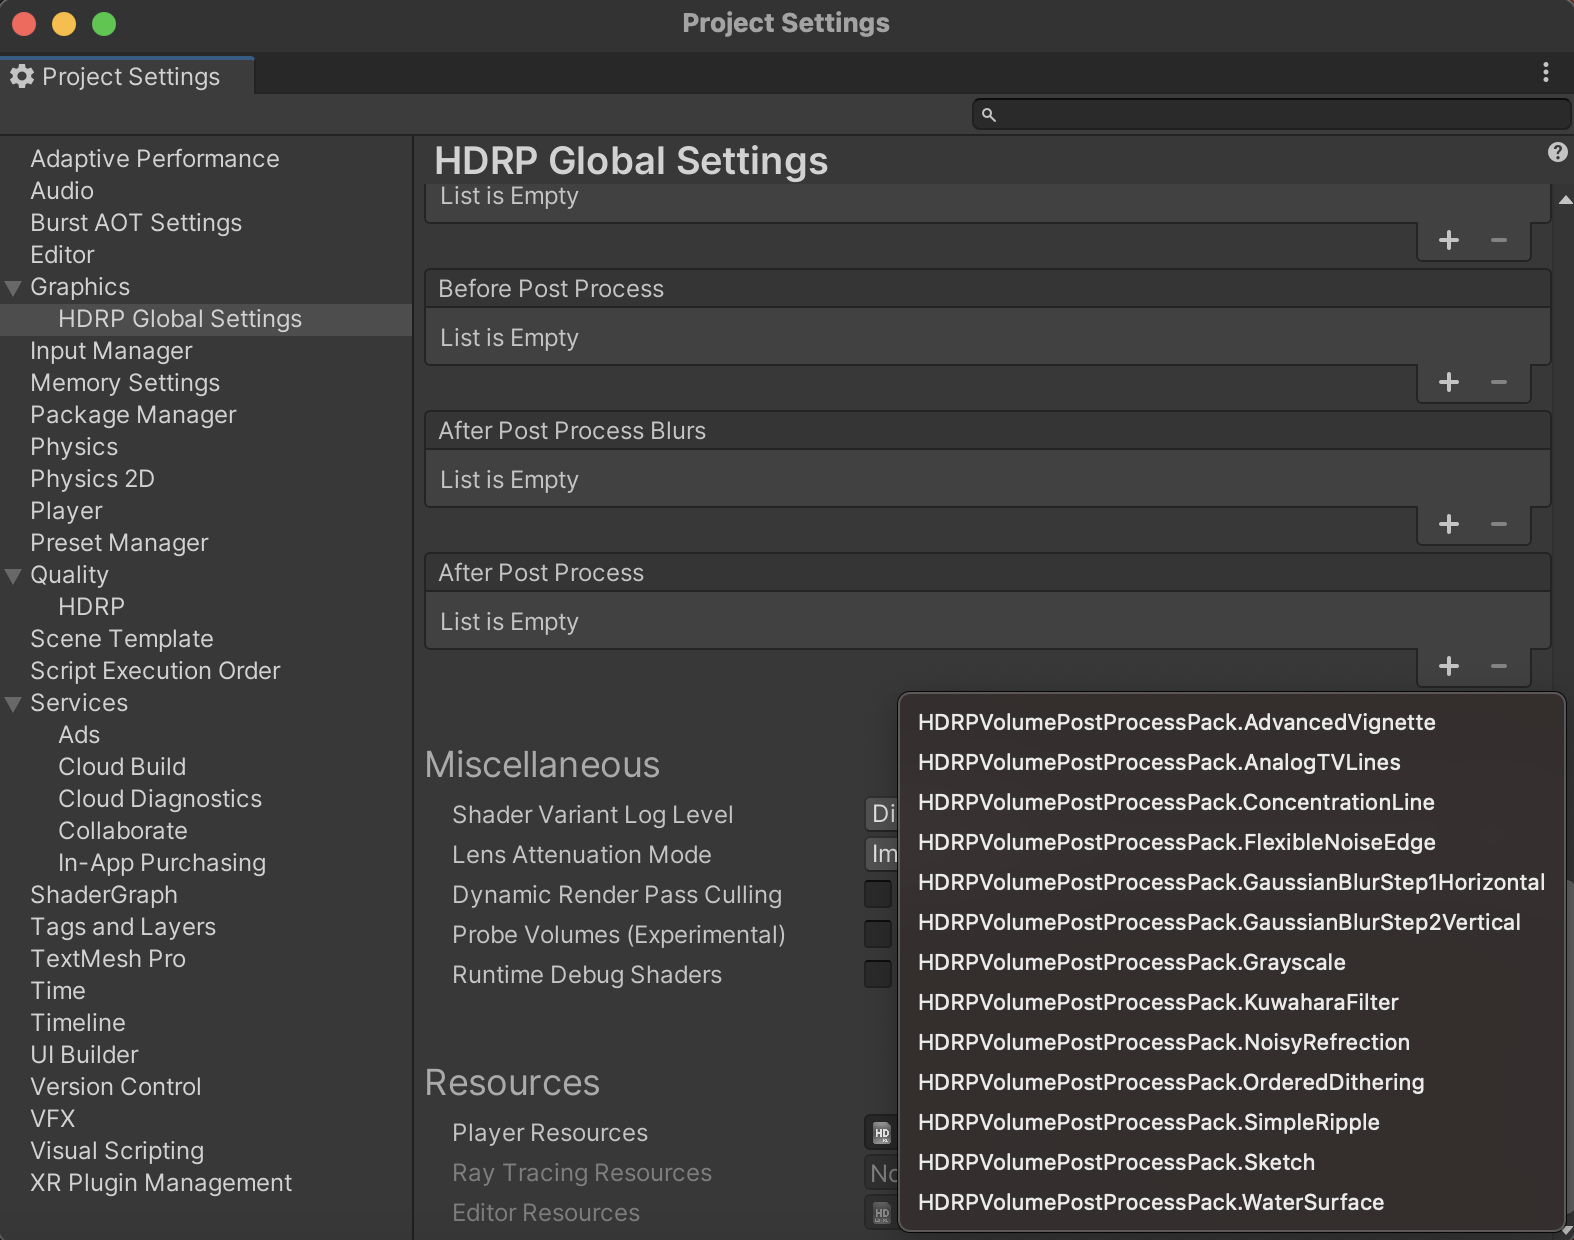
Scroll right pane down and find the After Post Process section of Custom Post Process Orders.
Click the "+" button of right down of the section, and select the post process name you added to the Volume GameObject.
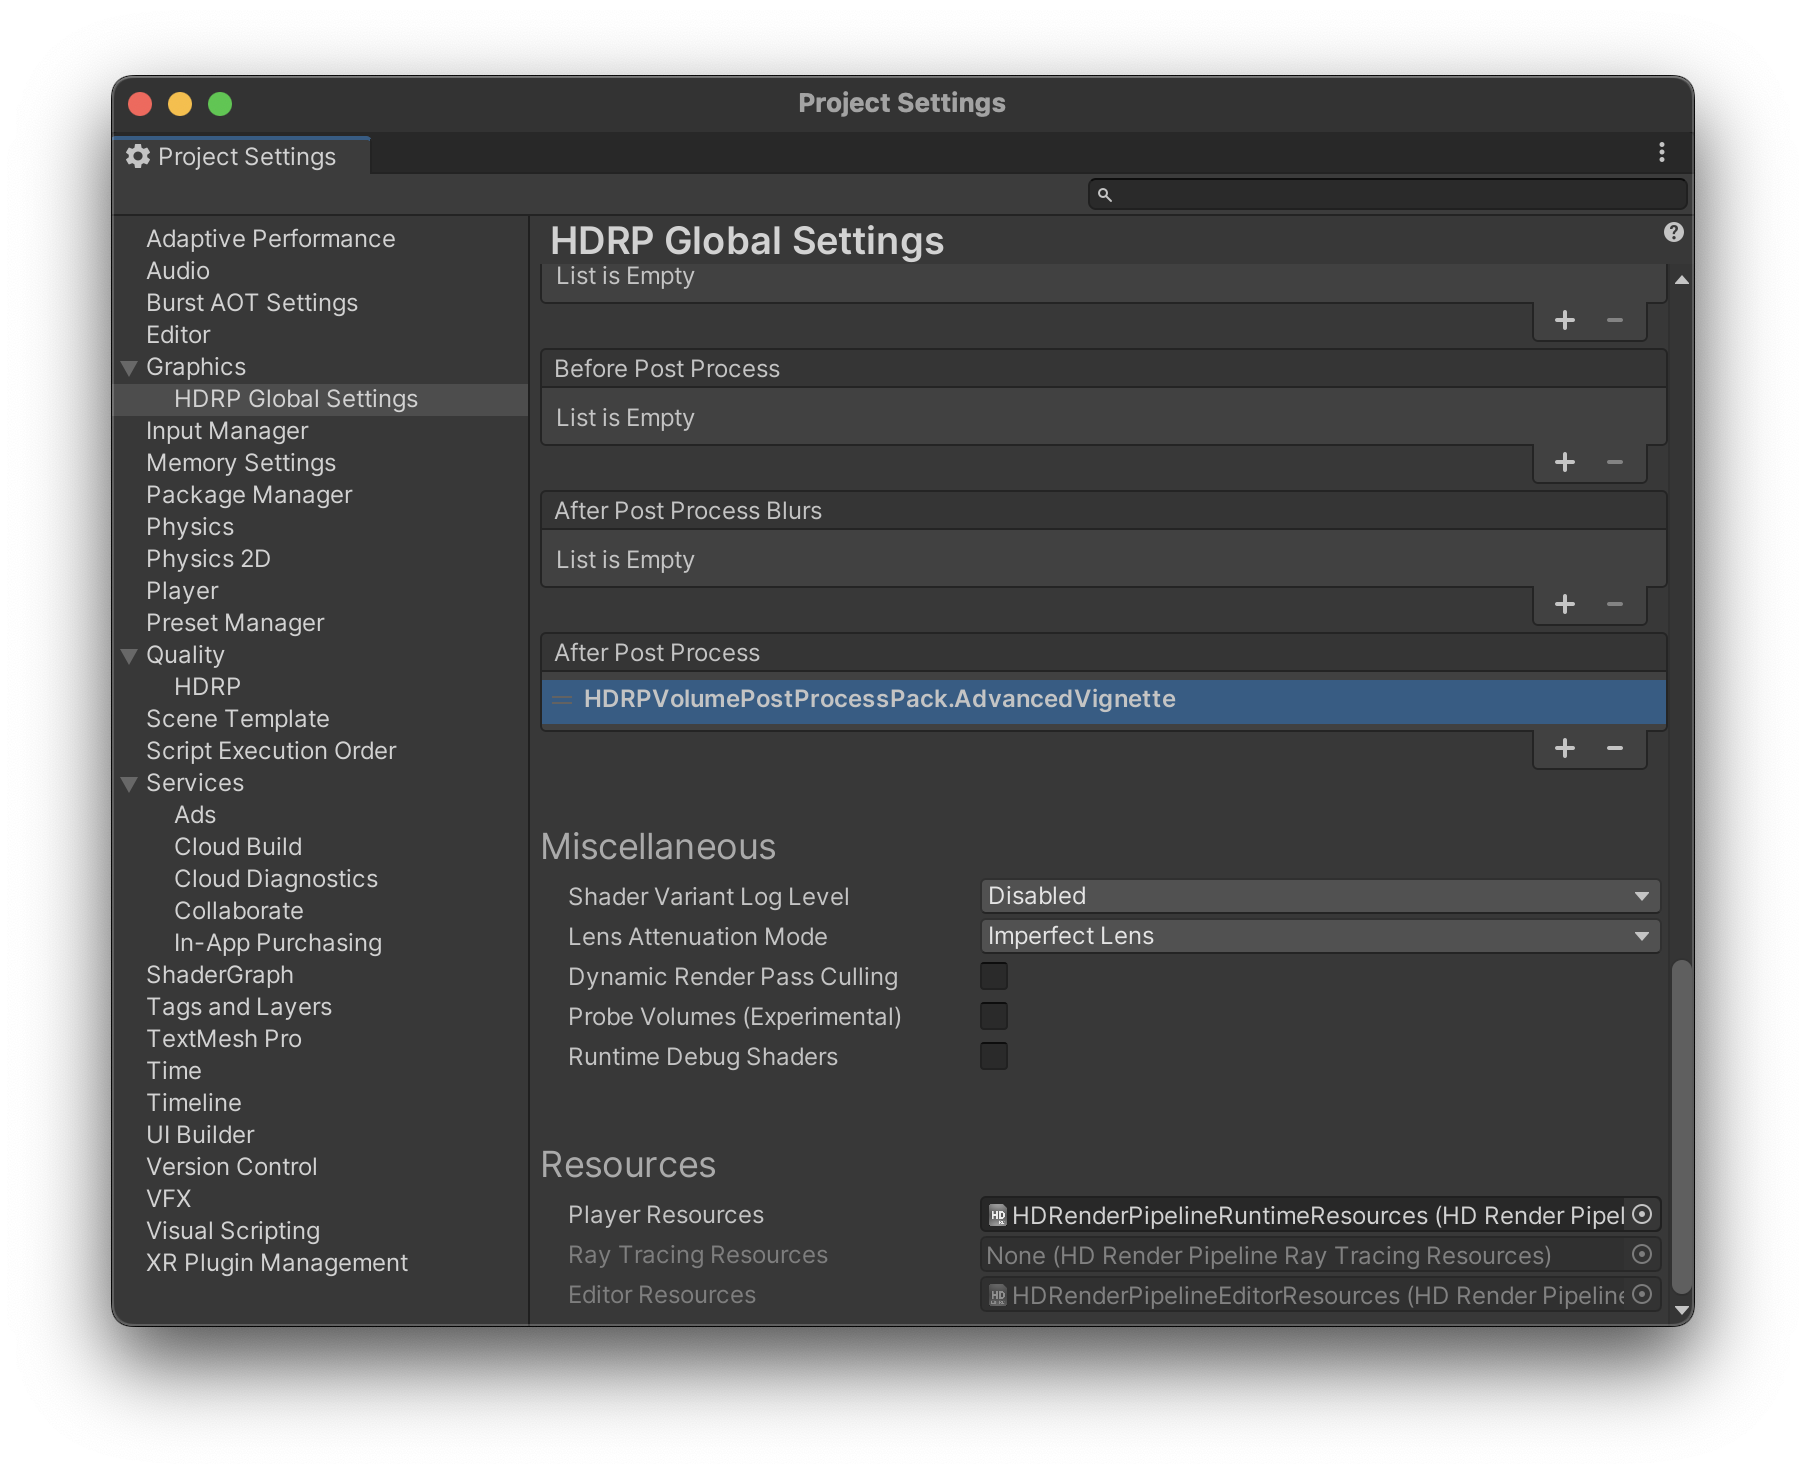
This step is a must!
Don't forget to process above step on each Post Process.
link:
https://docs.unity3d.com/Packages/com.unity.render-pipelines.high-definition@12.1/manual/Custom-Post-Process.html#effect-ordering
Effects
icon means the property can be modified by Timeline.
Advanced Vignette
Multifunctional Vignette.
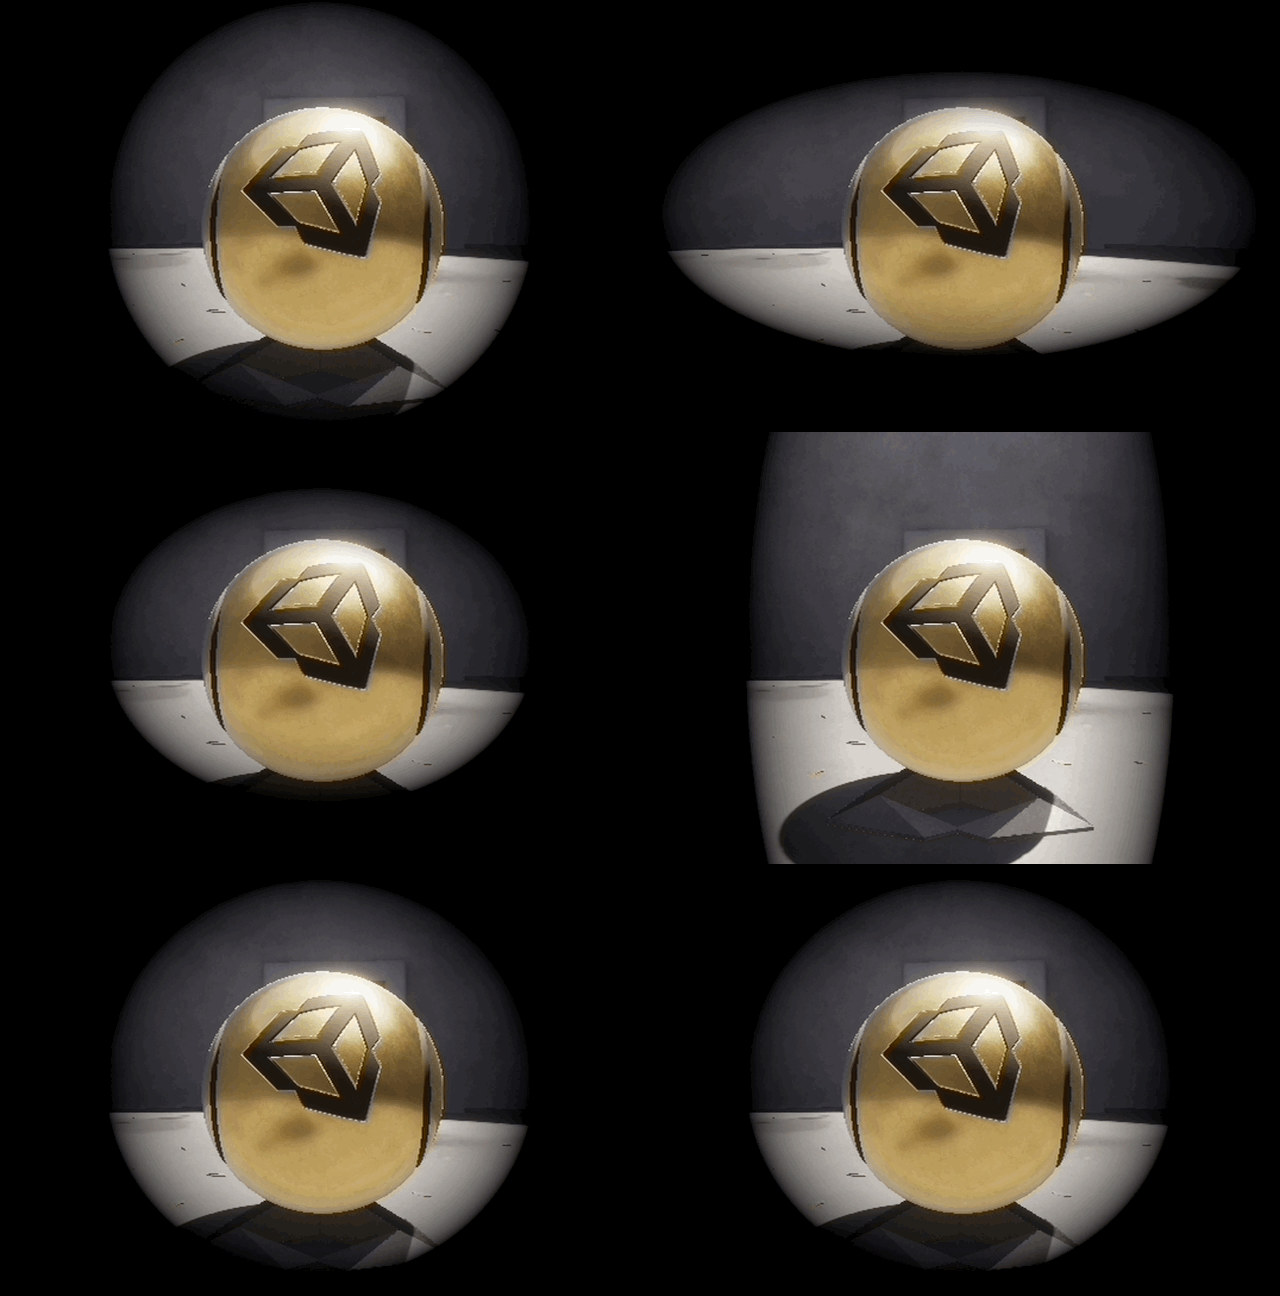
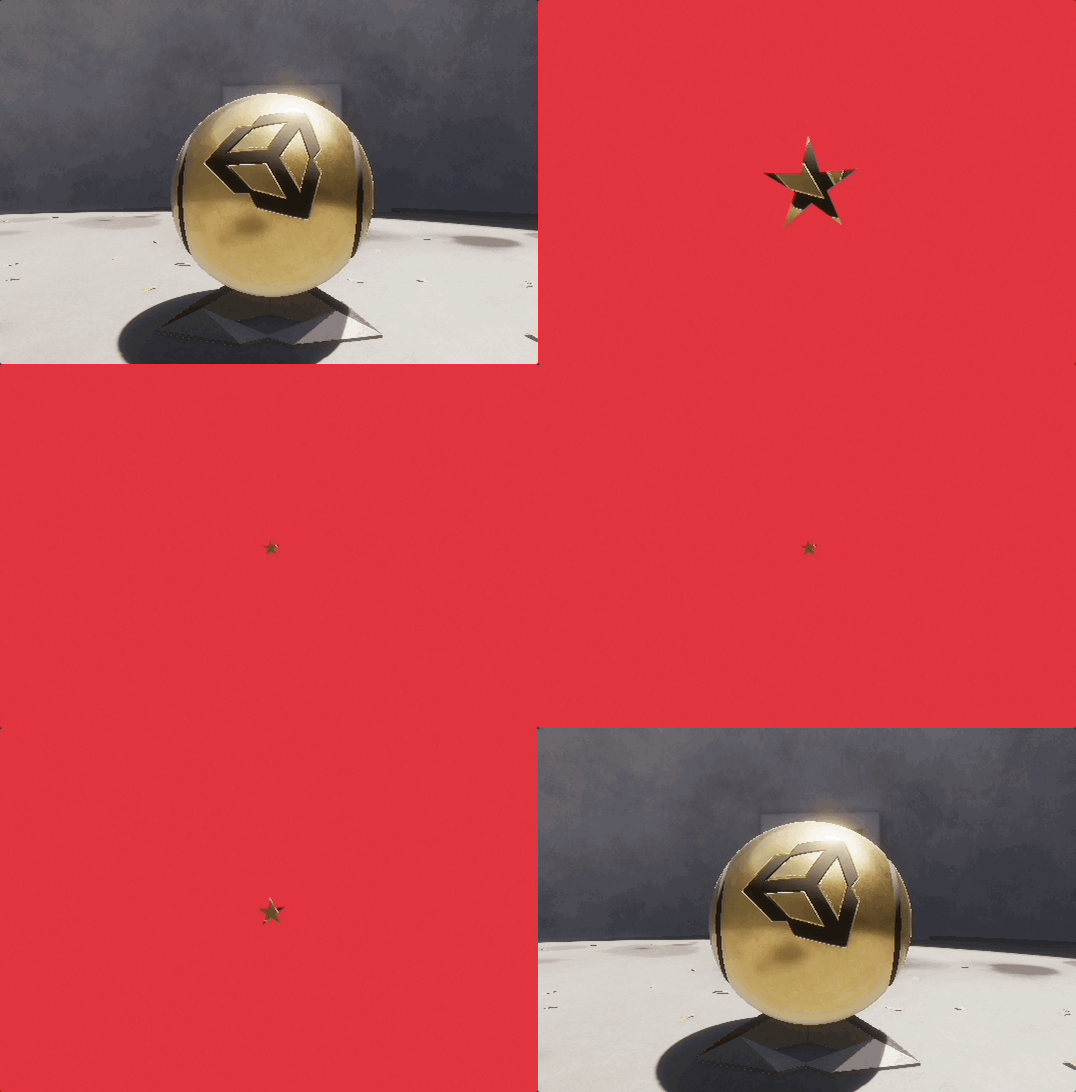
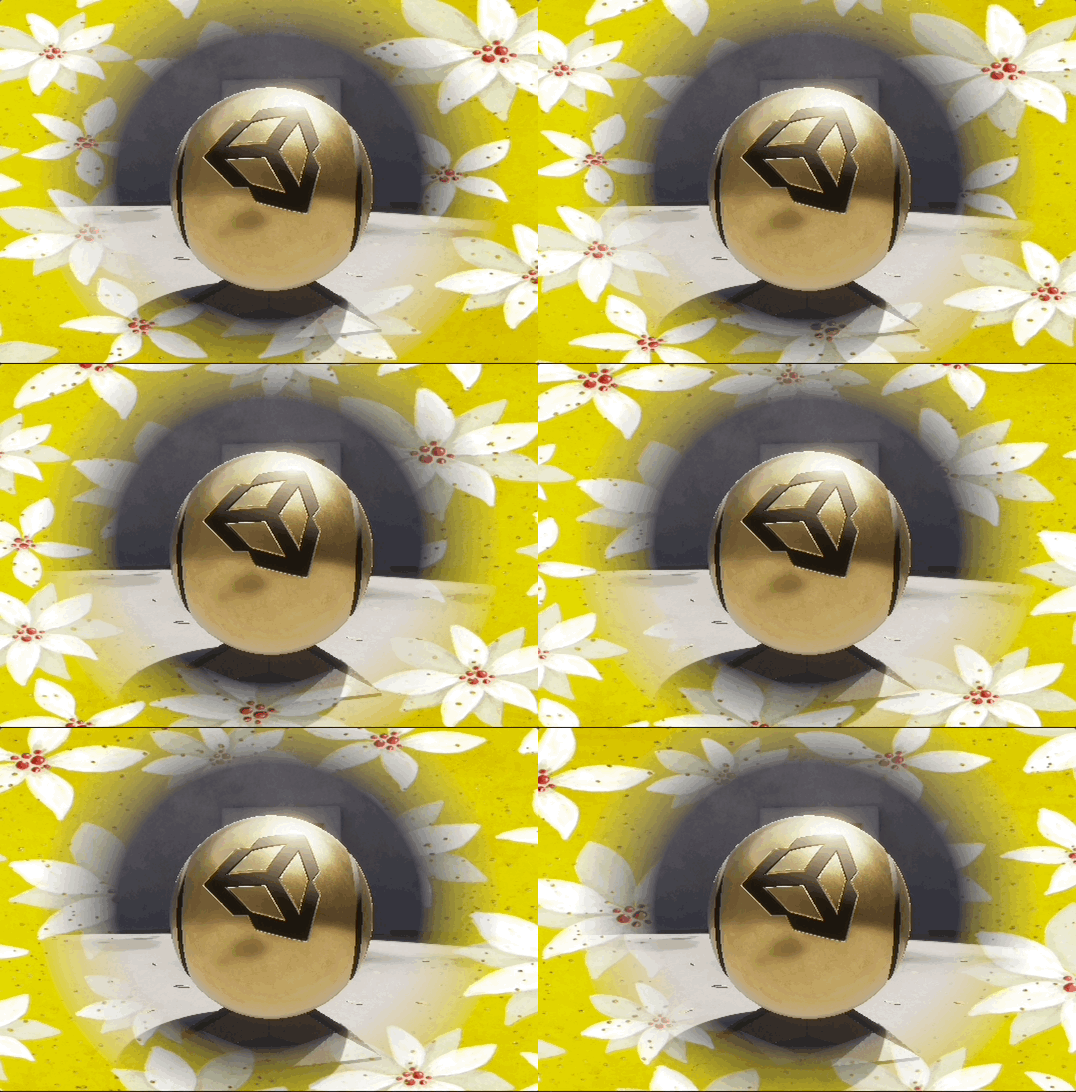
Main Properties
| Property | Description |
|---|---|
| masterVolume | effects the overall effect amount. |
| Intensity | vignette intensity. mainly effects the radius of vignette. determine the upper limit of blank radius (multiply by masterVolume). |
| Type | type of vignette. refer next section. |
| Gradation Power | how the gradient is applied |
| Center UV | vignette center position in UV coordinates |
| Aspect Ratio | aspect ratio of the vignette blank |
| Color | vignette color |
Mask Vignette mode properties
Type property determines vignette execution type.
- Procedural
simple circle vignette - Simple Mask
mask by texture - Mixed Mask
mixing circles and textures
Simple Mask or Mixed Mask mode has more specific properties.
| Property | Description |
|---|---|
| Mask Texture | texture used as vignette mask |
| Rotation | blank rotation |
| Inverse Alpha | inverse alpha value of Mask Texture |
| Scale | mask blank scale |
| Mask Reduction Ratio | blank reduction factor proportional to intensity |
Surface Texture setting
a texture you want can be overrided
| Property | Description |
|---|---|
| texture | a texture to override |
| Texture Scroll Vector | simple scroll vector |
| Texture Color | added to texture surface color |
| Use Texture Alpha | use alpha value of the texture. if toggled of, alpha value can be determine by slider |
| Texture Scale | texture scaling |
| Texture Offset | offset |
| Offset Time | texture scroll offset |
Flexible Noise Edge
This is one of the most variable effect of this package.
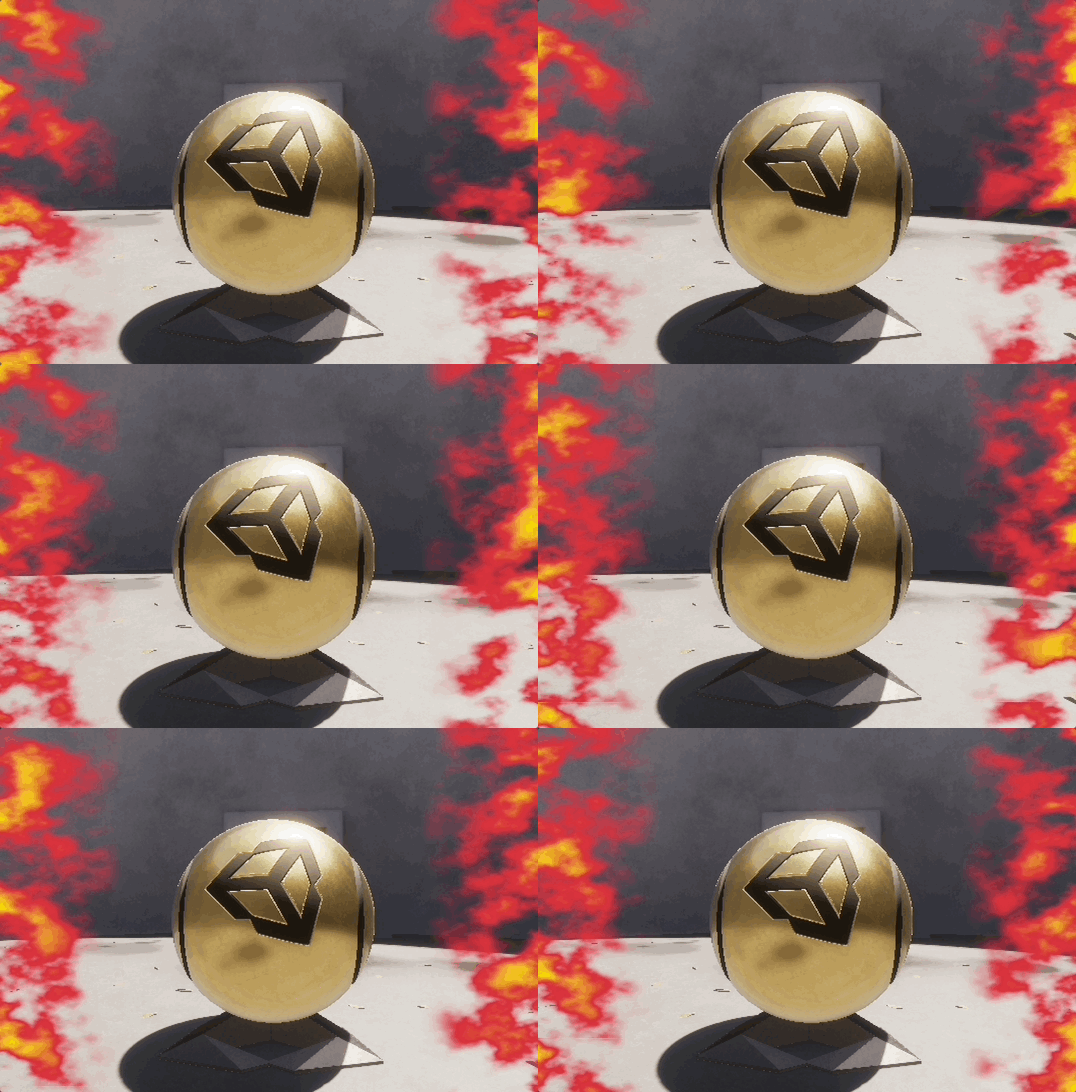
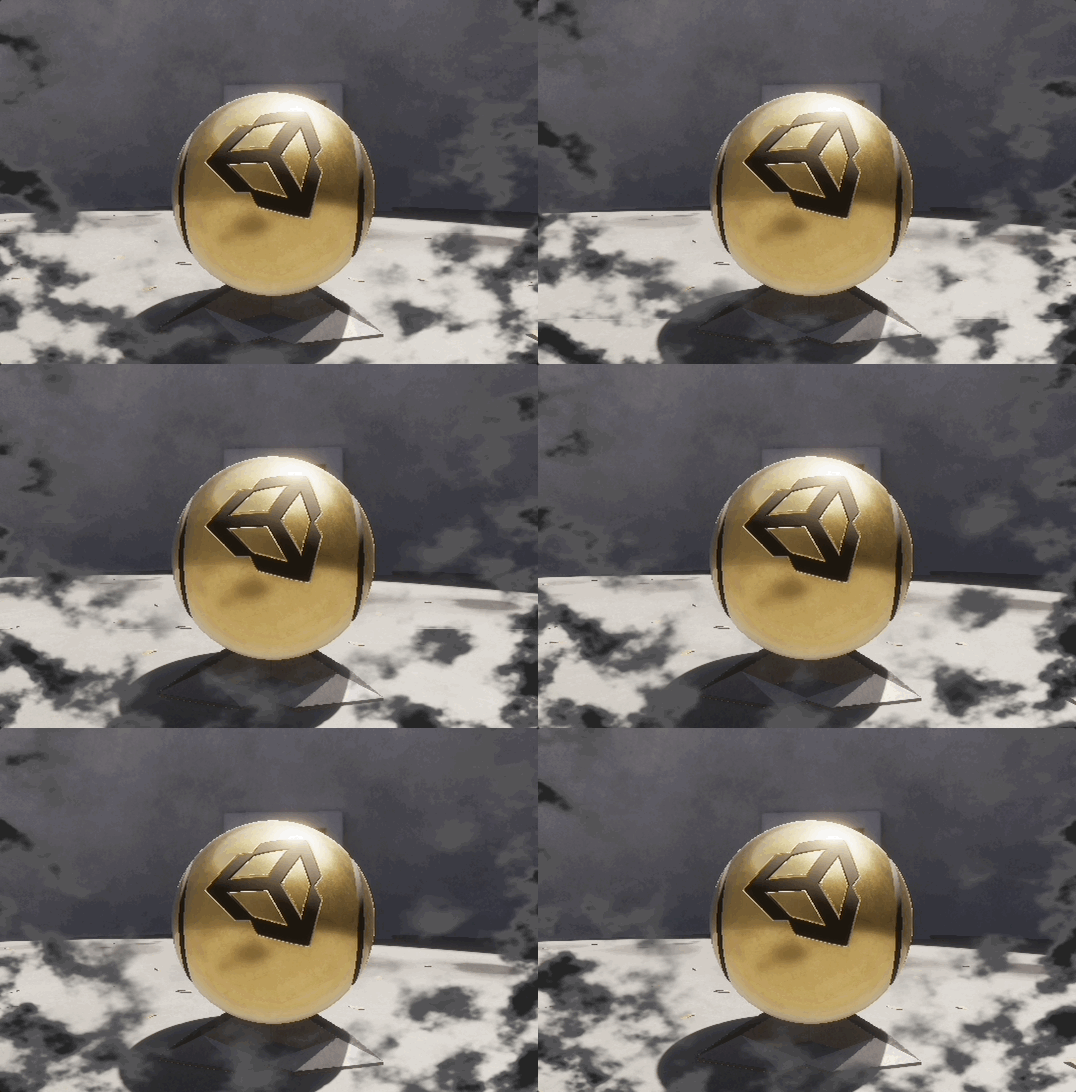
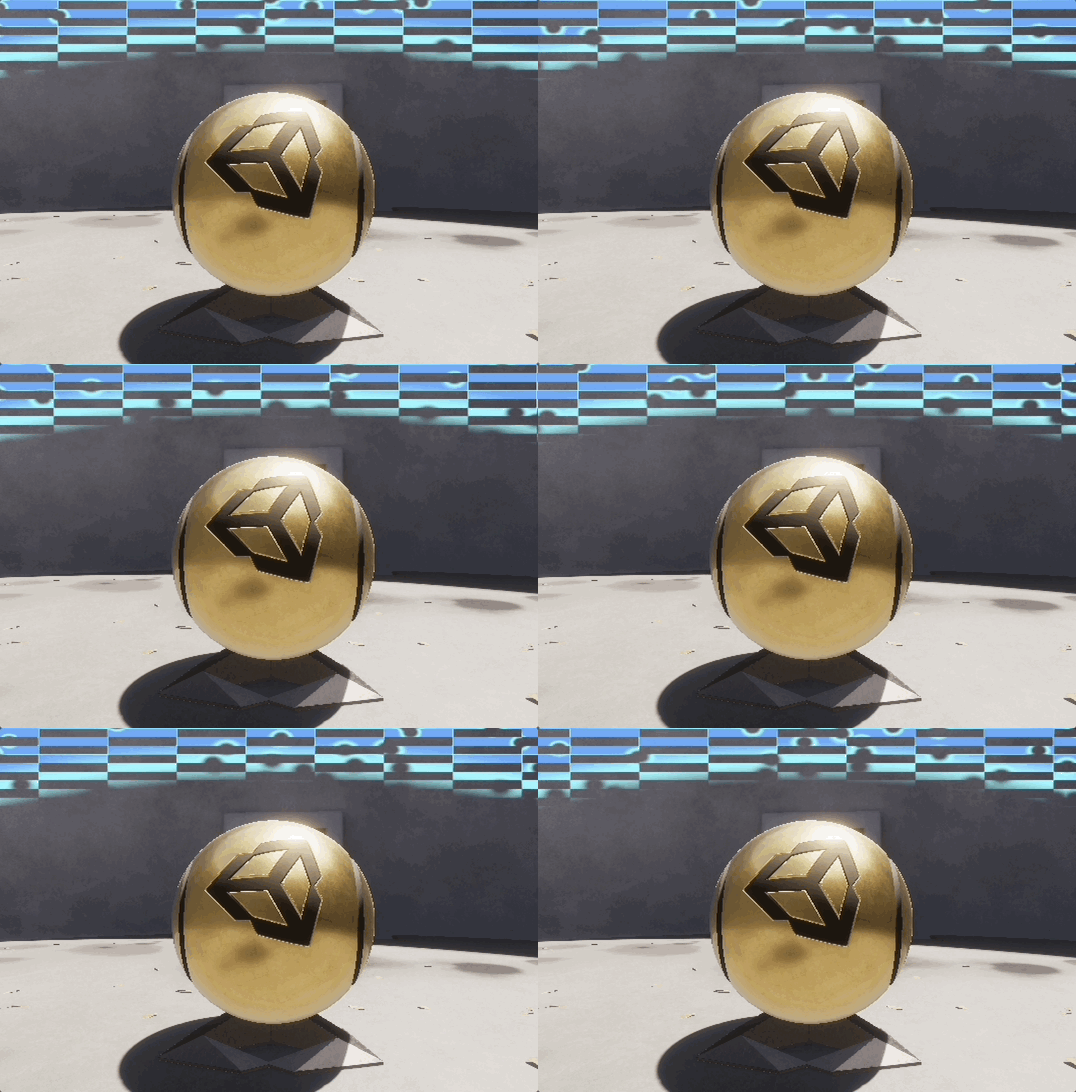
Blend textures and render complex effects.
Usage
This effect need a FlexibleNoiseSetting asset derived from ScriptableObject.
This package contains some preset assets, so at first you set one of them to the volume and check how it works.

Click "preview" button to play the effect preview on Unity editor without entering play mode.
Create your Flexible Noise Edge effect from scratch
Click "New" button of the volume, and select the file path to save a new asset.
Properties
Property Section 1. Blank Setting
Define blank space of this effect.
Same to Advanced Vignette.
Property Section 2. Surface Texture
Main surface of the effect.
Prepare a texture that shows the looping pattern.
| Property | Description |
|---|---|
| texture | a texture to override |
| Texture Scroll Vector | simple scroll vector |
| Texture Color | added to texture surface color |
| Use Texture Alpha | use alpha value of the texture. if toggled of, alpha value can be determine by slider |
| Texture Scale | texture scaling |
| Texture Offset | offset |
| Offset Time | texture scroll offset |
| Surface Threshold | alpha value to judge for blending color of the surface |
| Edge Threshold | alpha value to judge for blending color of the edge |
| Edge Color | blend color for the pixel that has alpha value below the Edge Threshold |
Property Section 3. Noise Texture
This texture uses only alpha value.
Blend that with surface and make random opacity.
Noisy Distortion
Distorts the image according to the noise texture.
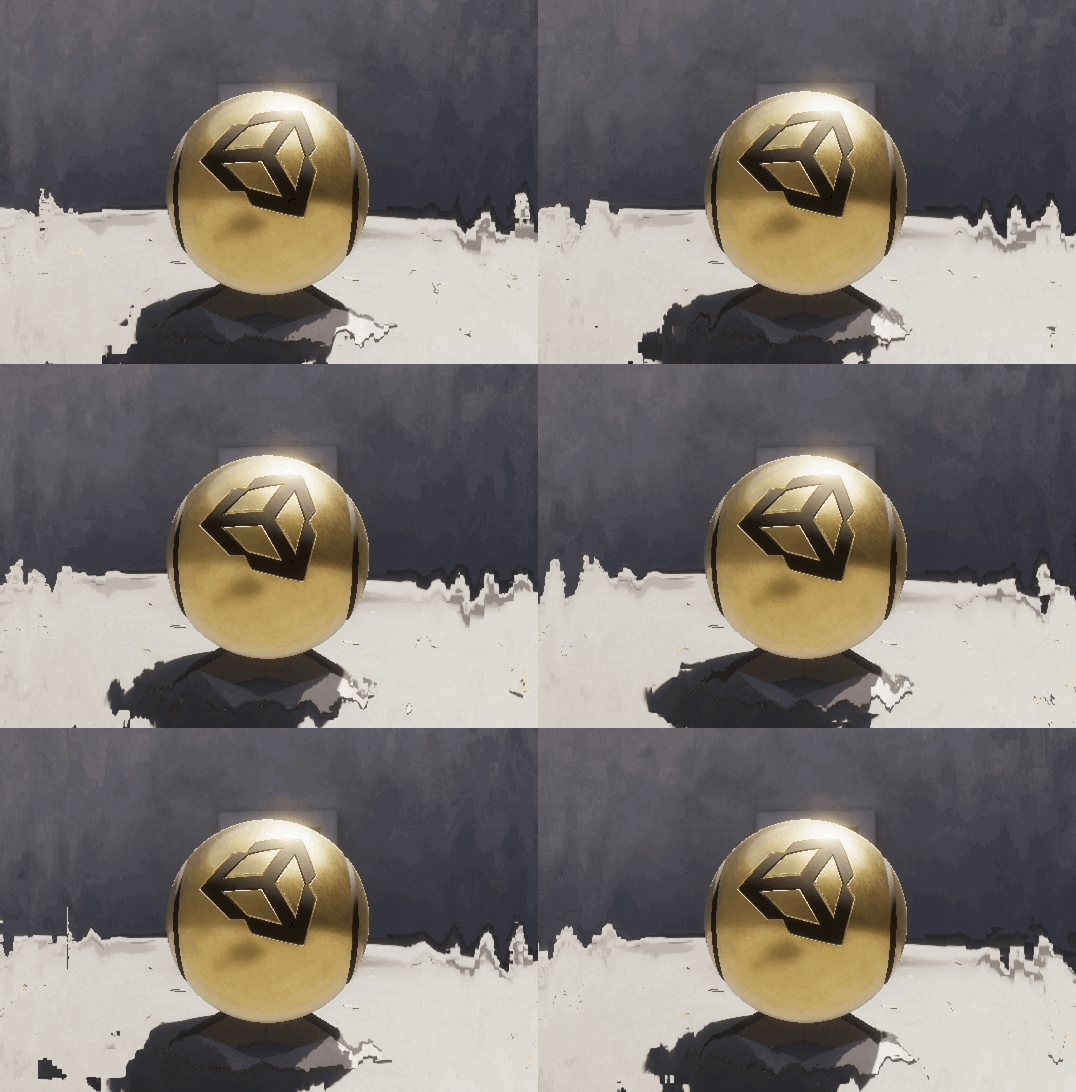
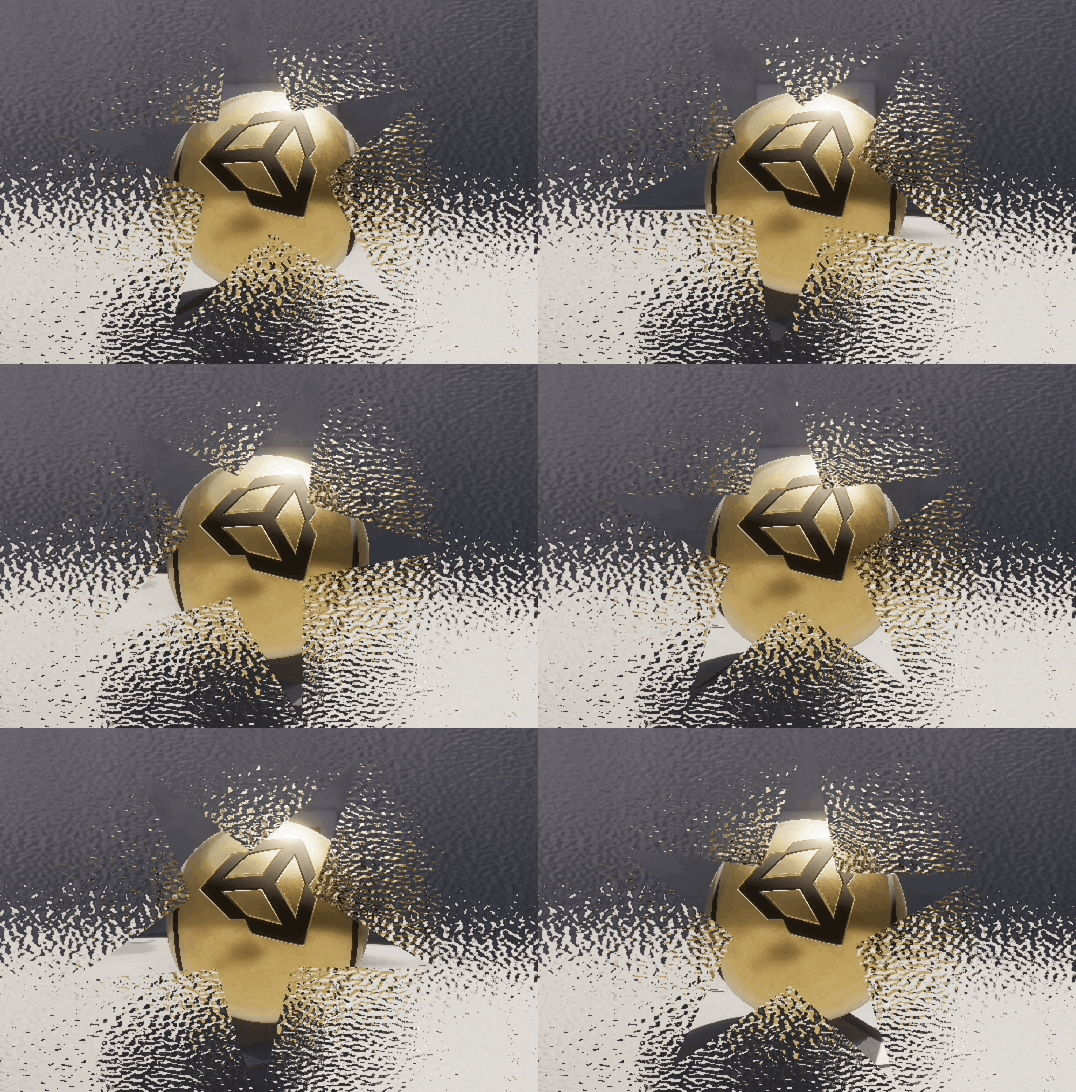
Properties
Property Section 1. Noise Generation Setting
This effect needs a special texture created from Height map. Creation process will be executing inside Unity editor when the "Generate Noise Map" button clicked.
These property are used only in Editor.
When any height map not set, parlin noise will be used automaticaly. So you can setup this effect with no height map.
** about height map ** https://docs.unity3d.com/Manual/StandardShaderMaterialParameterHeightMap.html
| Property | Description |
|---|---|
| Source Height Map | a source texture used by noise texture creation process. |
| Output Texture Size | output texture size |
| Bake Noise Scale | output texture scale of detail |
| Noise Roughness Magnification | setting a bigger value results in a large slope in a output noise texture |
Property Section 2. Runtime Generation Setting
These properties effects runtime rendering.
| Property | Description |
|---|---|
| Intensity | Noise appearance strength |
| Runtime Noise Scale | noise texture scaling |
| Runtime Noise Vector | scroll vector |
| Trancate Noise Value | a pixel in the noise texture that has alpha below this threshold will not be distorted |
Property Section 3. Blank Setting
These properties defines blank space in the center of the effect.
Same to Advanced Vignette.
Gaussian Blur
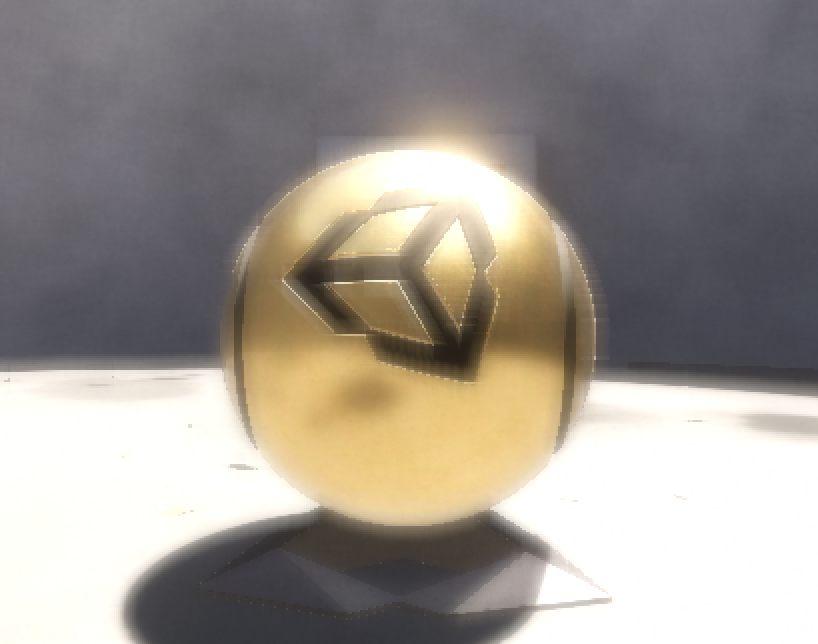
Gaussian blur is completed by setting the two effects, vertical and horizontal, in sequence.
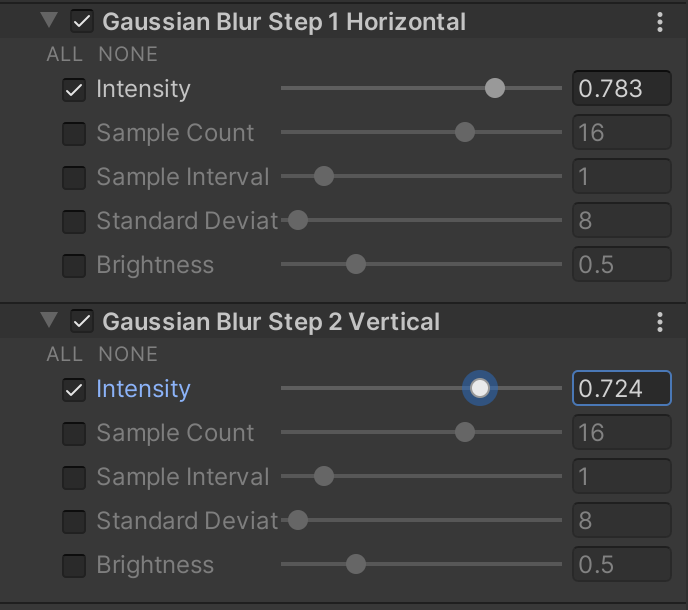
Properties
| Property | Description |
|---|---|
| Intensity | blur strength |
| Sample Count | sampling pixel count |
| Sample Interval | sampling pixel distance |
| Standard Deviation | weight calculation parameter |
| Brightness | brightness adjustment parameter |
Analog TV
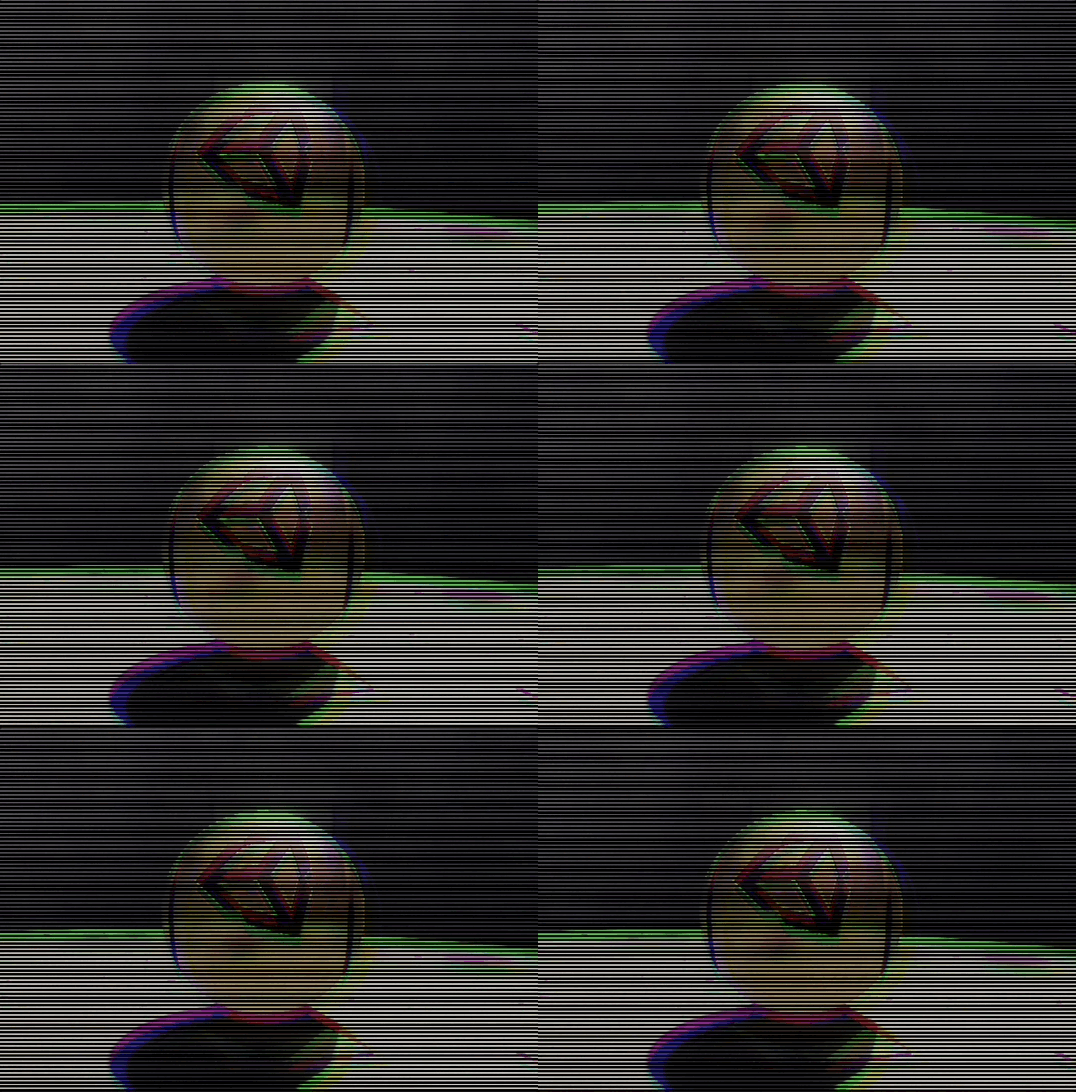
Properties
| Property | Description |
|---|---|
| Master Volume | master volume |
| Line Count | scan line count |
| Chromatic R | shift red pigment |
| Chromatic G | shift green pigment |
| Chromatic B | shift blue pigment |
| Speed | line move speed |
Sketch
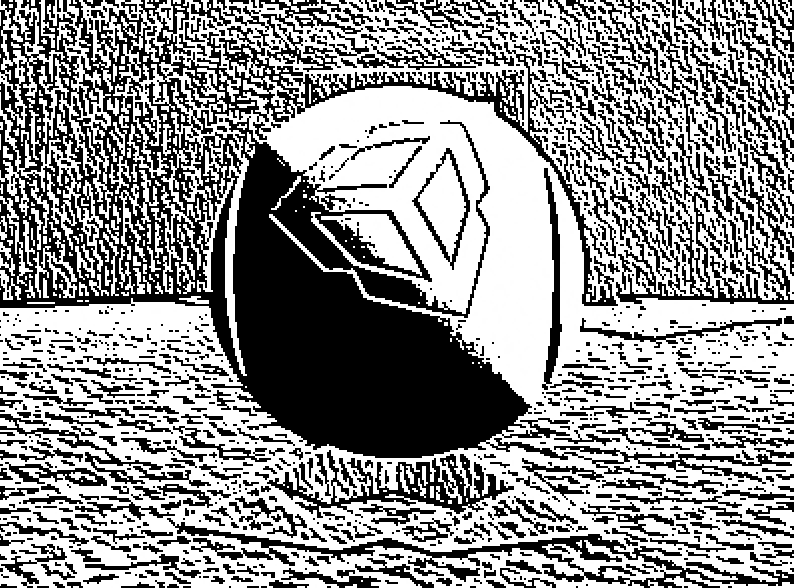
Properties
| Property | Description |
|---|---|
| Intensity | Outline and surface color intensity |
| Normal Base Outline Intensity | outline intensity calculated using normal vector |
| Depth Base Outline Intensity | outline intensity calculated using depth (G-Buffer) |
| Outline Color | outline color |
| Surface Color | surface color |
| Surface Intensity | surface color intensity |
Simple Ripple
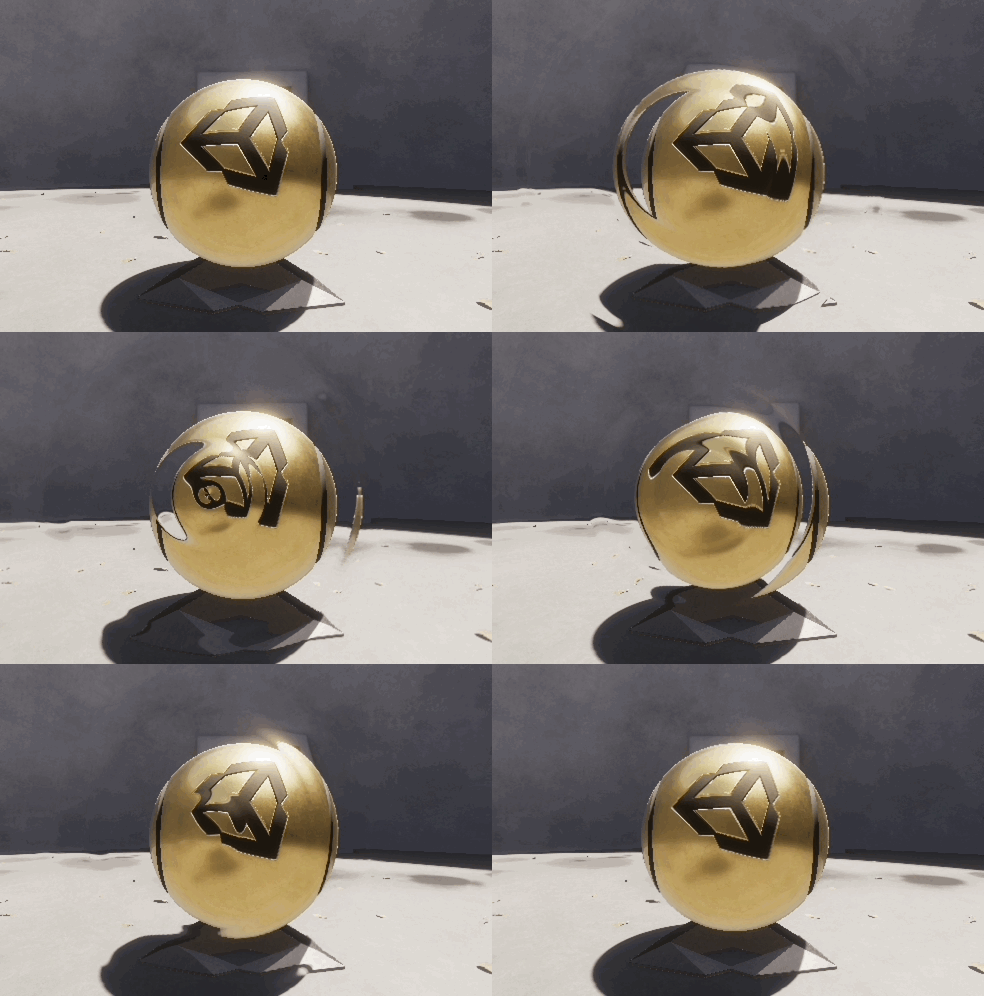
Properties
| Property | Description |
|---|---|
| Master Volume | maseter volume |
| Intensity | Ripple intenisty. if autoplay enabled, this value defines whole effect ripple power |
| Frequency | number of overlapping ripples |
| Propagation | propagation of ripple (use in scripting or timeline) |
| Ripple Center UV | center position of ripple |
Autoplay Setting
| Property | Description |
|---|---|
| Ripple Speed | propagation speed |
| Ripple Spread Time | time to fade out |
Water Surface
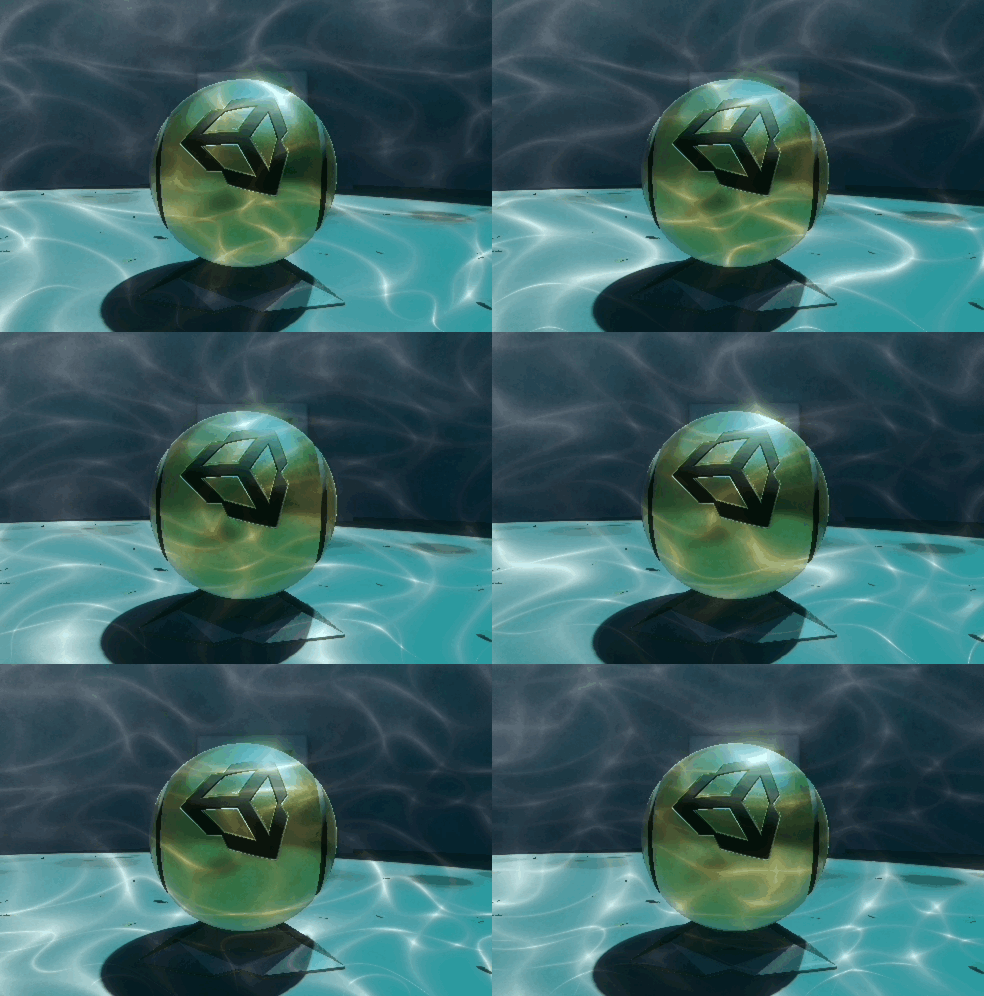
Properties
| Property | Description |
|---|---|
| Intensity | intensity |
| Layer Count | number of water layer |
| Ripple Brightness | ripple brightness |
| Surface Brightness | brightness of colored surface |
| Seed 1 | water movement seed 1 |
| Seed 2 | water movement seed 2 |
| Mesh Detail | surface fineness |
| Color | surface color |
Concentration Line
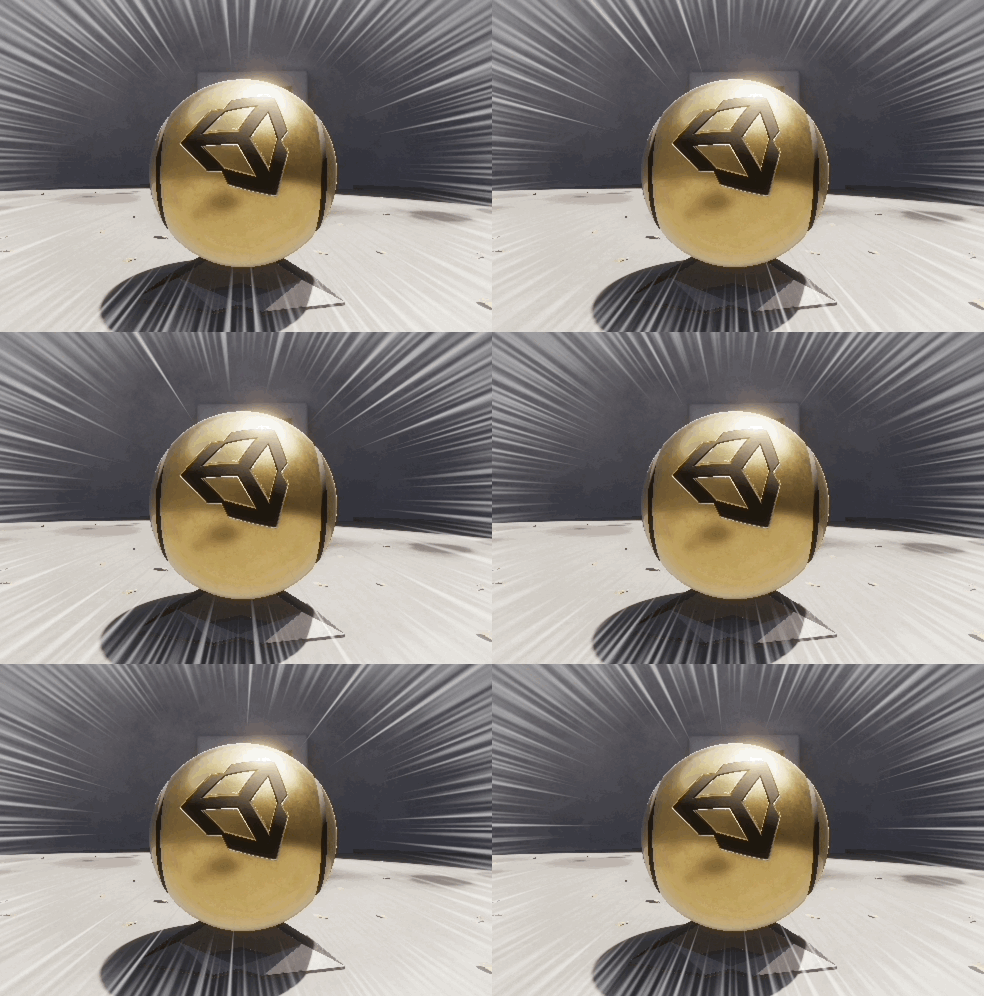
Properties
| Property | Description |
|---|---|
| Intensity | line intensity |
| Line Frequency | number of line |
| Center Viewport In Screen | center position |
| Blank Radius | center blank radius |
| Color Threshold | alpha threshold to render line |
| Blank Aspect | aspect ratio of center blank |
| Line Rotation | rotation of the entire effect |
| Auto Rotation Speed | auto rotate in play mode if this value is set |
| Line Randomize Offset | offset time to randomize lines |
| Auto Randomize Speed | randomize in play mode if this value is set |
| Line Color | effect line color |
Noise Generation Setting
This effect uses a texture that contains alpha channel, and that must be created before executing.
In easy use, check the "Runtime Generation" toggle to create noise texure automatically in play mode.
Ordered Dithering
Reduce the number of colors to create a retro look.
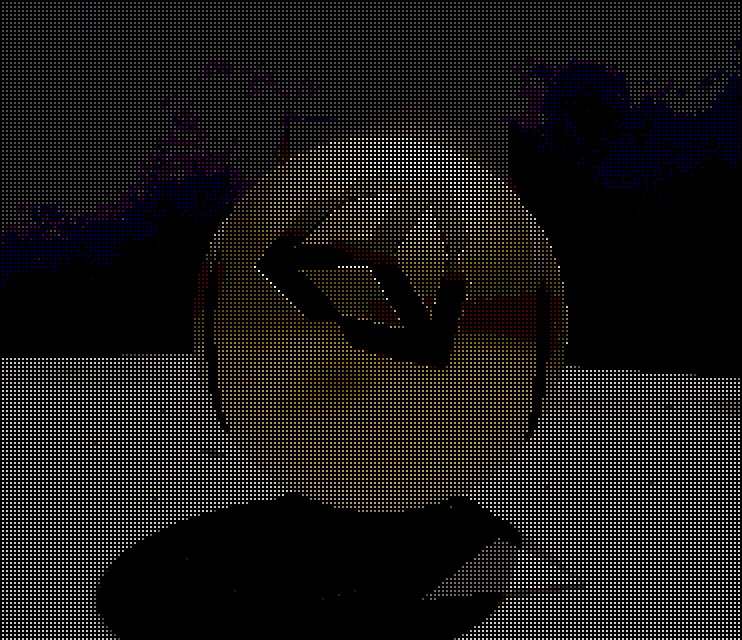
Properties
| Property | Description |
|---|---|
| Intensity | effect intensity |
| Ordered Matrix Size | pixel matrix size to calculate |
| Color Step | color step in rendering |
| Dither Threshold | threshold to clip |
Kuwahara Filter
Filter to make the screen look like an oil painting image.
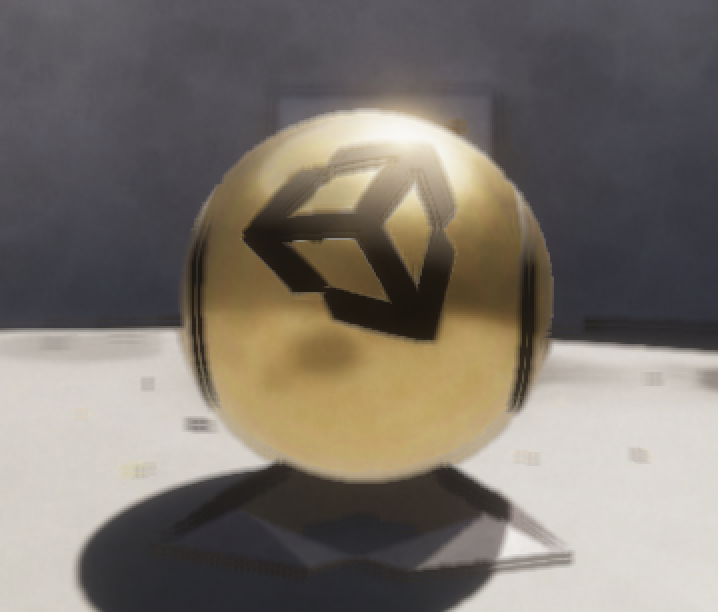
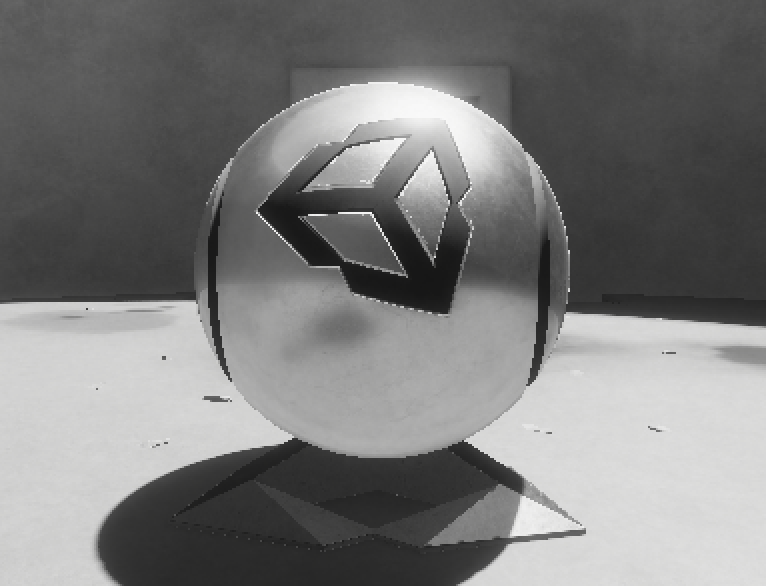
Grayscale
Using in Timeline
All effects in this package can be modified from Timeline sequence.
About detail to use Timeline, please refer official reference.
1. add track to timeline asset
in the Timeline Window, click "+" button and add target Track by each effect.
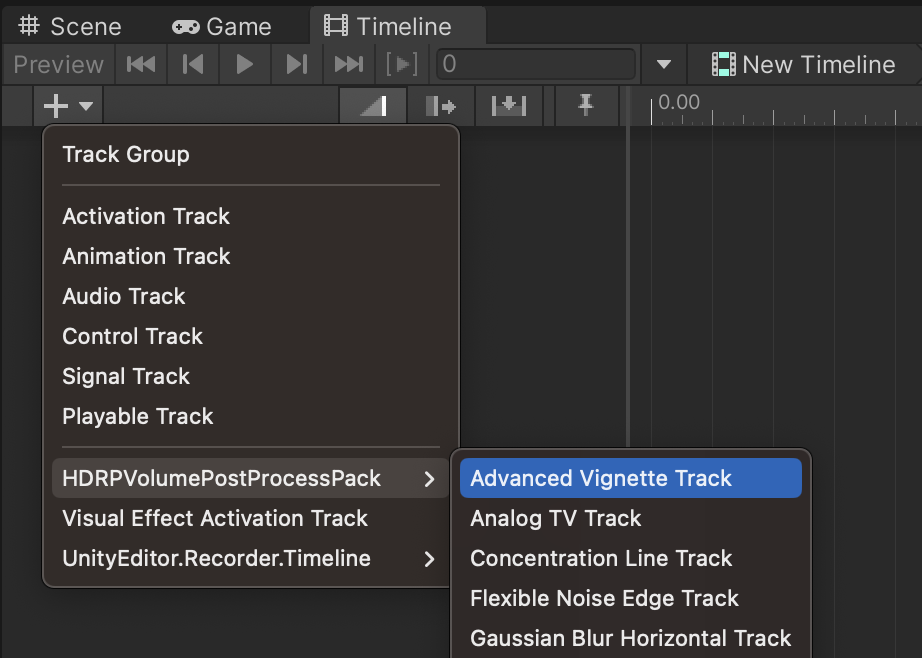
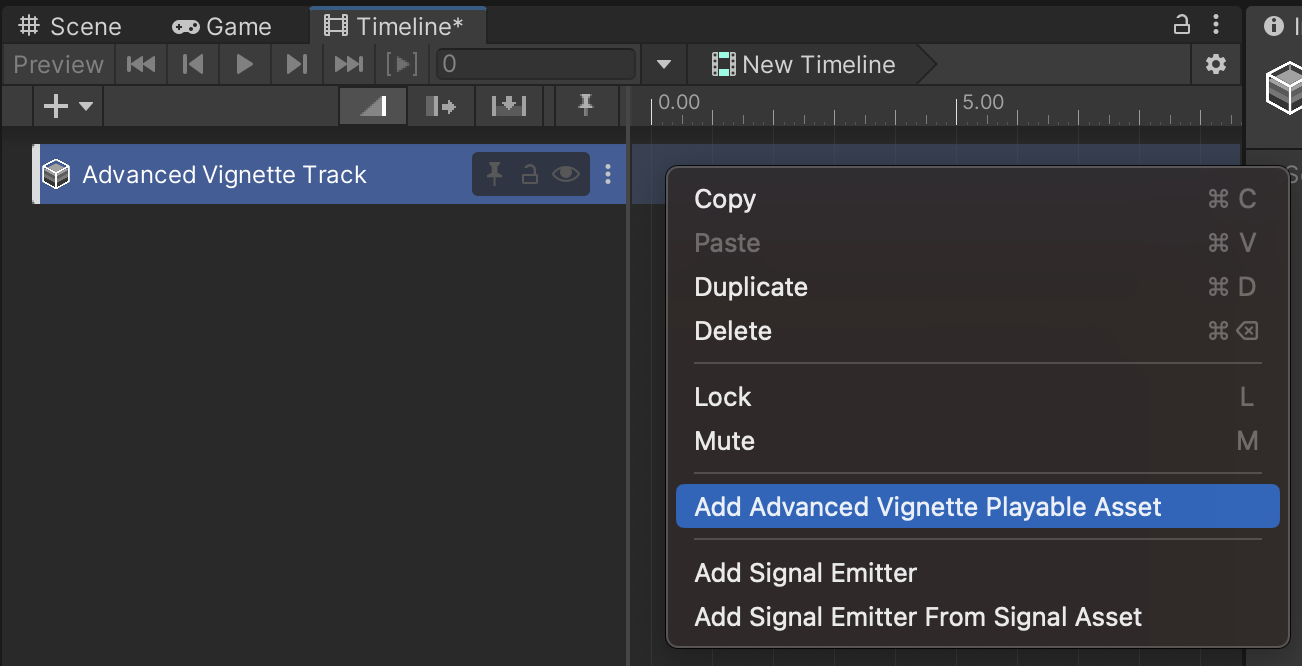
2. add Playable Asset to the track
right click the track, and click Add *** Playable Asset.
3. link Volume to track
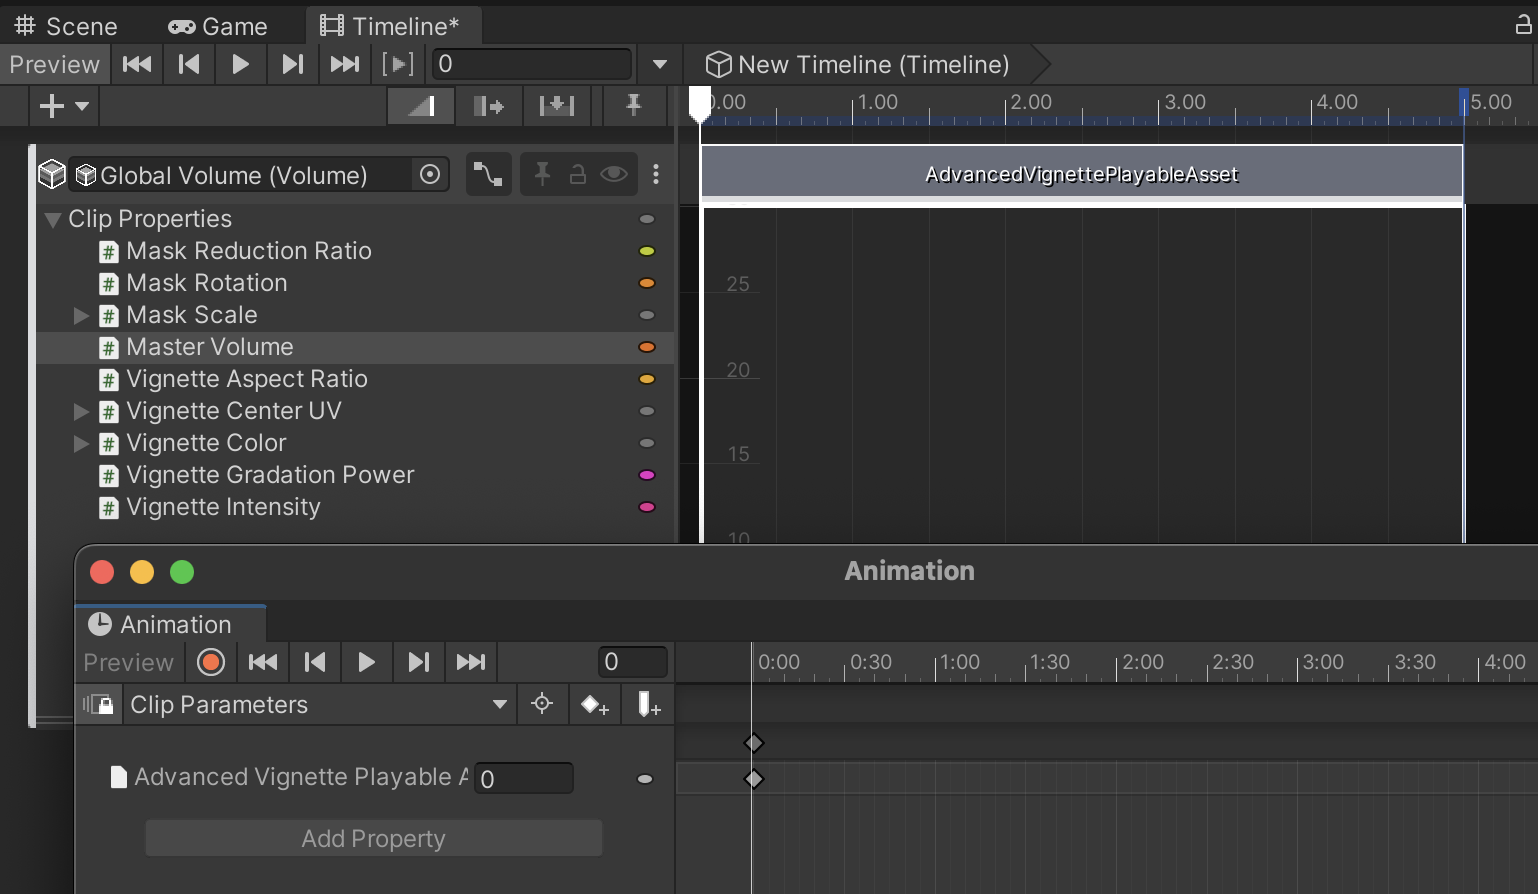
Drag and Drop a volume GameObject in a scene from Hierarchy view to created track.

4. Edit animation
edit animation clip like any other timeline components
Tips
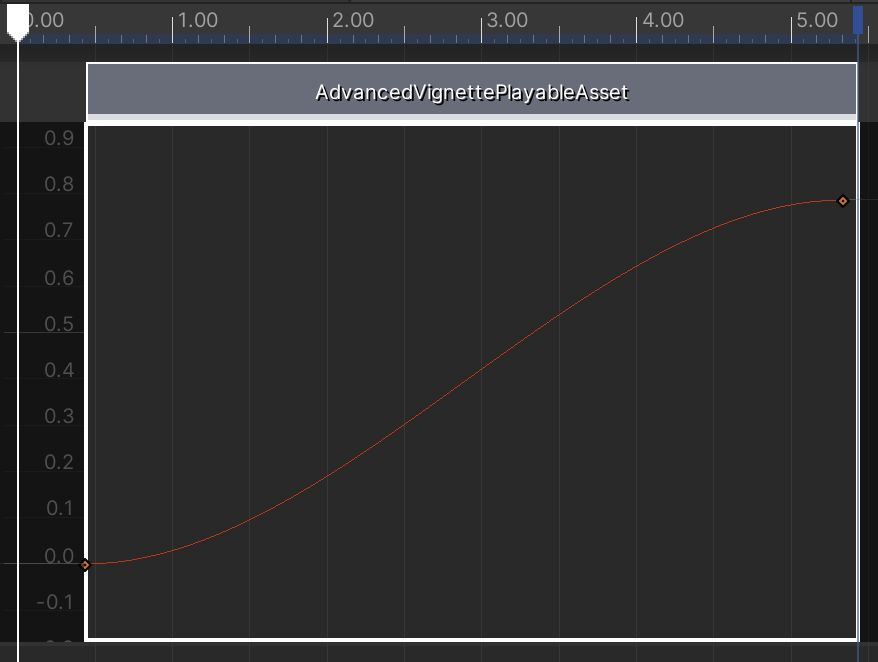
if your animation curve looks invalid scale,
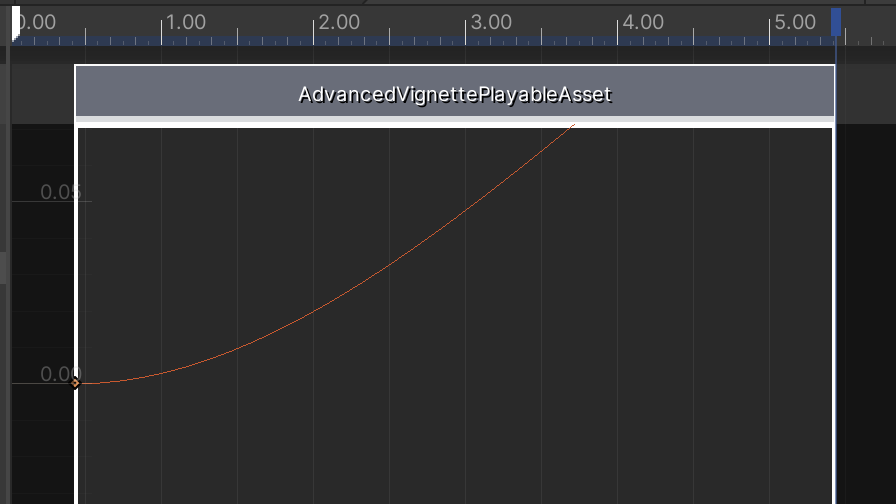
↓ click the track and set focus, and type f key
Trouble Shooting
Any effects are NOT visible on the screen
Check the Edit Effect ordering and ensure that the effect you want to use is set.
If the Mode property of the volume is set to Local, any effects only be rendered if a main camera is in the collider of the volume GameObject.